Before you begin a running program, you need to know if your body is ready for this high-impact exercise. Running isn’t just about endurance; you need strength to run. Performing the strength test below is a great way to determine if you’re strong enough to starting running. Here’s what you’ll need:
An exercise mat
A timer
A step (a step stool will do just fine) Start by going for a 10-minute walk to warm up. Then perform each exercise below for one minute in the order listed.
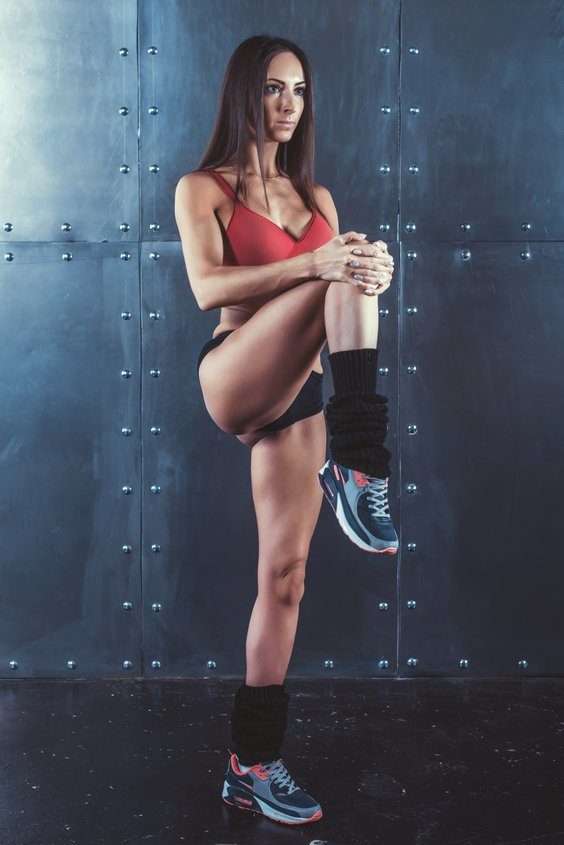
Forward lunge, knee up: Stand with your feet shoulder width apart. Step forward with your right foot, then sink down into a lunge. From this lunged position, push up on your right leg and bring your left leg forward into a knee-up. Step your left foot back to where it started and sink into the lunge again. After a few minutes, you should feel this in your right hip and right glute. If you feel this in your quadriceps (front leg muscle) or have any knee pain, focus on keeping your knee behind your toe as you lunge and your right knee turned slightly outward so that you’ll engage your gluteal muscles. After one minute on one side, rest, and switch sides.
Mini-hops: Stand with your feet shoulder width apart, and hop just slightly above the ground. There’s no need to go super high. Just a slight hop will do.
Squats: Stand with your feet shoulder width apart. Stick your rear back, keep your chest up, and sit back like you’re going to sit in a chair. Just like in the first exercise, you should feel this in your gluteals. Strong gluteal muscles are essential for injury-free running, so if you can’t keep proper form, you likely aren’t ready to run yet. Until you’re stronger, you can hold onto a steady object (e.g., a chair, the back of the couch, etc.) to give yourself some stability while you master this move.
Football feet: Stand with your feet shoulder width apart. Shuffle your feet up and down quickly. Move to right, to the left, or stay in the middle. You can do any type of football feet you like as long as you just keep moving.
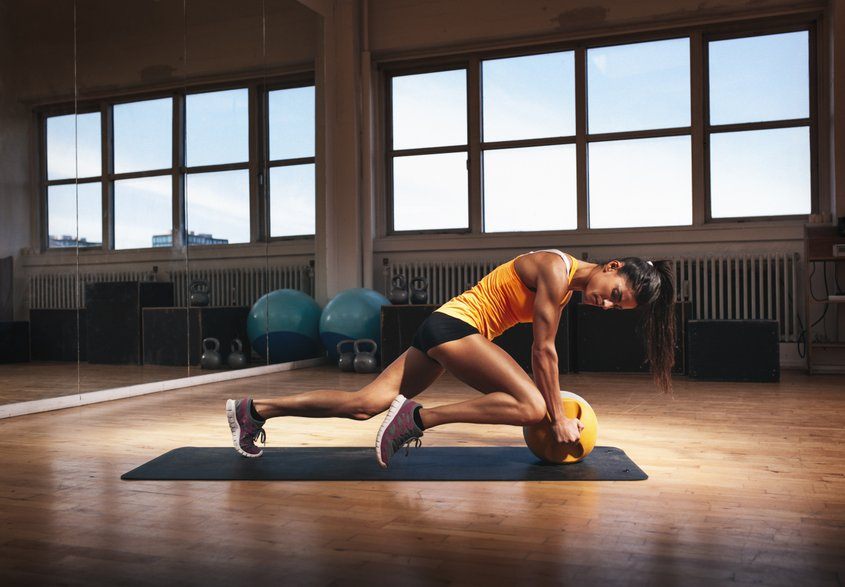
Birddog crunch: On your mat, start on all fours. Tighten your core and make your back flat. Tuck in your left arm as you bring your right leg toward your stomach into a crunch motion while keeping your back flat. Then extend your arm back out to be straight while you also straighten your leg. After one minute on one side, rest, and switch sides.
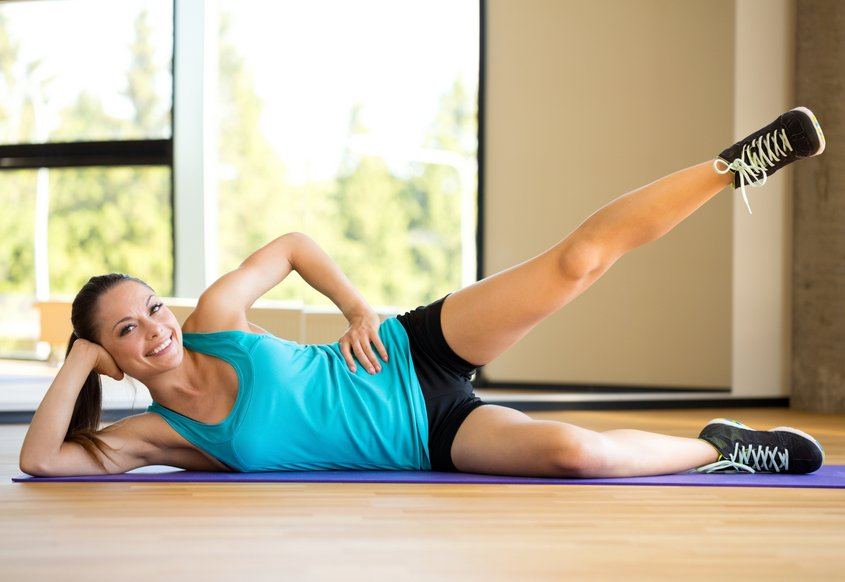
Side V-up: Lie down on your right side with your right arm straight in front of you. Lean slightly back on your butt; keep your legs straight and crunch up, making a V, and then come back down. After your 30 seconds are done, rest, and switch sides.
Side plank: Lie down on your right side with your legs straight out. Stack your left foot on top of your right foot. Rise up onto your right elbow, while keeping your feet stacked on top of each other and your body in a straight line. After your 30 seconds are done, rest, and switch sides.
Plank dog: Start in a plank position. Make sure your body is in a straight line. Press back into downward dog (i.e., making an upside-down V with your body) and bring back one of your hands to touch the opposite shin. Go back into plank, on the next downward dog, and switch arms.
Bridge kicks: Lie on your back. Place your feet on the floor so that they are a couple of inches from your butt. Tighten your core and raise your butt off the floor. Keep your butt tight while you lift your legs one at a time. Is your butt dropping? Tighten it up; it needs to be level.
Side steps: Stand with your legs shoulder width apart. Stick your butt back and go into a squat, keeping your chest raised. If you can’t see your feet, you aren’t sitting back far enough. You should be able to wiggle your toes. Once you’re in a good position, step to the side while holding this position for 10 steps (or as far as your living room will allow), then go back. Think about keeping your nose level as you move across the floor. (If you want to add an additional challenge, you can place an elastic exercise band around the lower legs.)
Heel raises: Stand with legs shoulder width apart with your feet straight ahead. Rise up onto the balls of your feet, then lift one foot and sink down slowly onto the foot still on the ground. Focus on bringing your arch to the floor last. After one minute on one side, rest, and switch sides.
Mountain climbers: Start in a plank. Remember your butt should be in alignment with your back and shoulders. Alternating knees, bring each knee into your chest in a quick motion, like you’re climbing rapidly up a mountain. (Disclaimer: Nobody actually climbs a mountain like this, unless they want to die.) Keep your butt aligned; don’t let it pop up.
How did you do? Were you able to perform each of the 12 exercises for one minute, while maintaining great form, without having to take a break? If so, great – you’re ready to start running. If you’re struggling through these movements or need frequent breaks, you’re not ready; you’ll only risk injury if you start a running program. However, don’t worry. Every time you do this strength test, you’ll get stronger. If you are suffering pain after running due to plantar fasciitis, my article on how to choose the best shoes for plantar fasciitis is for you. Remember to do this routine up to five times a week and build up to completing the test successfully. Once you can, you can feel confident as you head out the door and begin your running program.