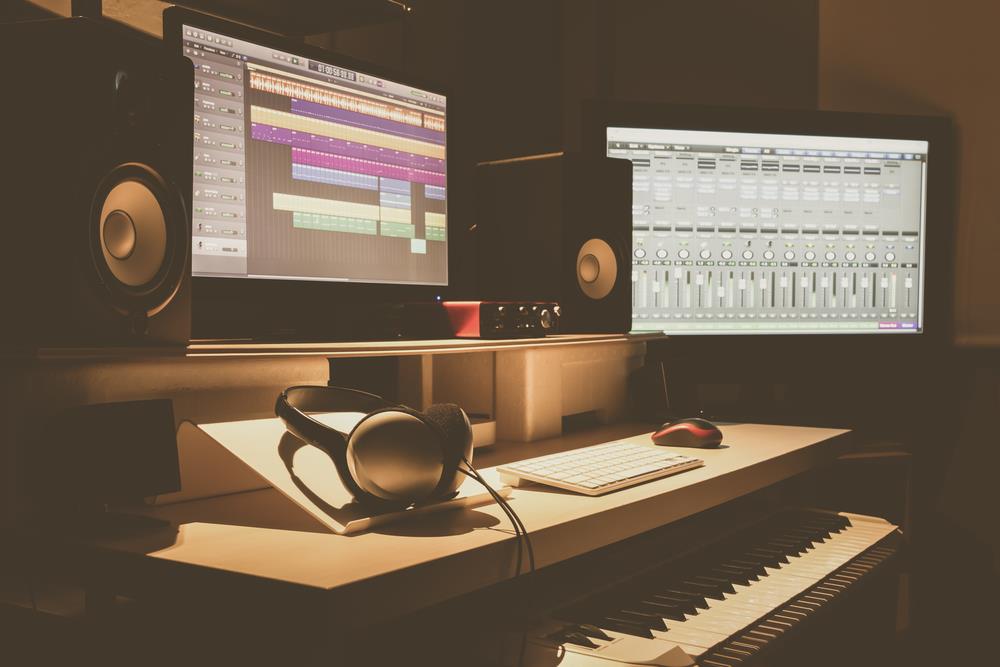
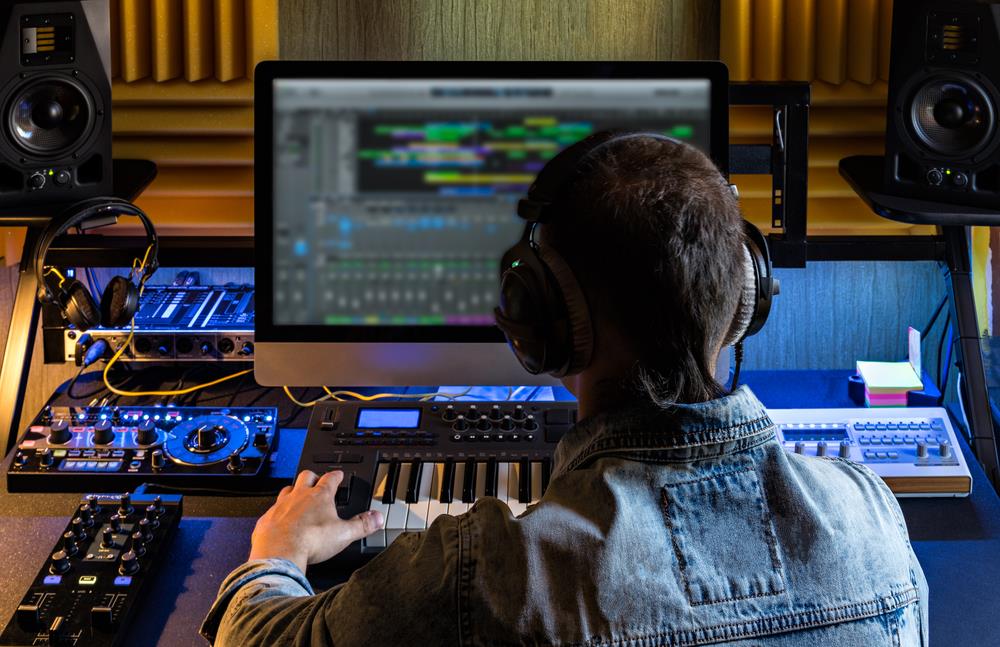
This means that, unlike even three or four decades ago, the average music enthusiast can piece together a home studio capable of producing high-quality recordings, with less space taken up and the sort of potential that could only be dreamt of in the early years of music production. In fact, with little more than a moderately-priced computer, a pair of monitor speakers, a DAW (digital audio workstation) and a couple of microphones, you can record and mix in a spare room. But something is missing…
What’s that sound?
A home studio will never be a professional studio. The former is bound by size constraints, often less-than-ideal surroundings and the acoustic effects of conventional construction techniques. The latter – well, the latter doesn’t suffer from those problems because it’s purpose-built from the ground up. But the biggest issue facing home studio owners is, fortunately, also the easiest to address. It doesn’t require moving or tearing down walls. Rather, it involves treating the chosen room to make it as acoustically honest as possible. Room construction – the dimensions and proportions of a space, the thickness of the walls, the insulation, and placement of windows – varies from one home to the next, and furnishings, wall coverings, carpeting, and flooring material all add unique acoustic characteristics. But why should all this matter when you have your head a few feet away from a pair of accurate monitor speakers? Sound waves travel fast. Fast enough so that what you think you’re hearing from your speakers has already been colored by the surrounding space. An untreated room has a frequency response – the way it reflects sound back – that is uneven. In short, that means what your ears are telling your brain isn’t true. It’s like taking a photograph of a tree in a field and adjusting the brightness and contrast, then applying a color filter. The outcome is a landscape you still recognize, but it isn’t a true representation. Unless you make music for your sole listening enjoyment in the one space it was recorded or mixed in, the end result of an untreated home studio is that what sounds good there probably won’t “translate” well in the real world where most people listen to music. Your mixes will be colored by the excesses and insufficiency related to the unique acoustic properties of your room.
Why treat your home studio?
Total acoustic deadening is neither necessary nor desirable. A well-treated space is not covered from top to bottom in foam paneling – that’s more akin to what you’d find in an anechoic chamber. The goal of room treatment, according to Andy Munro – a specialist in acoustic design – is to achieve a “neutral sound balance”. That means that various frequencies are neither exaggerated nor deficient; it means that your ears perceive the source material as it was meant to be heard. Dimensional and budgetary constraints may limit the home studio owner in what they can do. However, treating a room as optimally as possible will create a listening environment in which you can learn what a good recording sounds like. You’ll be able to make better decisions which will be evident when your music is played in the outside world.
The problem with bass
Of primary concern to the home studio owner are low frequencies. Bass travels far, passing through walls and leaving most of the mid-range and treble behind. If a low-frequency sound wave could be visualized, its cycles – the number of times the wave repeats – would be significantly longer than that of a higher frequency. The unique sonic characteristics of bass make it particularly problematic. Left untreated, an average room allows bass to bounce from the wall behind the listener, building up in the corners. The result can be a significant dip – as much as 30 decibels. You might think your music sounds balanced and powerful, with a deep, driving rhythm that supports the entire song, but take it out of the studio, and suddenly it sounds muddy and boomy, with bass overpowering the other instruments. What happened? The aforementioned dips – often referred to as “nulls” – altered your perception of the bass in your music. You compensated for what you heard by adding more low-end frequencies. As soon as your music was played in a different environment, the effect of this compensation became evident.
How to create a bass trap
The solution to bass nulls is placing a “bass trap” in each corner of your studio. These “traps” are made from material of varying thickness, density, hardness, and softness, sometimes containing air gaps and covered in an acoustically transparent fabric which allows sound waves to pass through without reflecting them back into a room. When low frequencies hit a bass trap, they encounter resistance and slow down. The reflection, dispersion, and accumulation which would be caused by hitting an untreated wall are reduced, resulting in a more even, accurate representation of the sound. How many bass traps does a home studio need? Twelve are ideal – one for each of the room’s eight corners, and an additional trap for each of the four vertical junctures between walls.
The problem with treble
What about the higher mid-range and treble frequencies? There are two approaches that can be taken. The primary is the placement of acoustic panels, of similar construction to panel-shaped bass traps, at various points on the studio walls. When high frequencies hit an acoustic panel, the sound is absorbed and converted into imperceptible heat, instead of being bounced back at you. Absorptive acoustic panels are an important tool for reducing rapid echoes and the “ringing” effect found in sparsely furnished rooms. Another way to deal with troublesome high frequency reflections is through the use of “diffusors “. Unlike acoustic panels or bass traps, a diffusor breaks up sound using an array of three-dimensional patterned surfaces. They may have the appearance of a random arrangement of shapes, but are actually based on precise equations. Diffusors – which should be used only as an adjunct to, not a replacement for, panels – help improve your “sweet spot”, the space where you sit between the speakers, leading to more accurate auditory perception.
Buy or DIY?
Whether you make your traps, panels, and diffusors yourself or purchase them will depend upon if you have more time than money, or vice versa. It’s entirely possible to build everything you need and get a good outcome – there are many tutorials to be found online. The drawbacks are the time involved in research, calculation and design, the acquisition of materials and, of course, the creation and installation of the end product. You’ll also need a few basic tools and a space in which to work. The benefit is the money saved. Conversely, you can purchase everything you need, professionally made and finished. You’ll save a great deal of time, needing only to install the room treatment products – and with purchasing them comes expert guidance from someone who is already well-versed in acoustics. The only downside is the cost, which ranges from moderately to significantly higher than doing it yourself. In either case, your music – whether it’s strictly recorded, electronically sequenced, mixed or any combination thereof – will improve. So too will your mood. You’ll be confident that what you hear in your studio will sound great everywhere else!


